how to insert google auto ads blog boost adsense earnings:
In this post, you would learn how you can quickly insert the google auto ads in your blog to boost your adsense earnings.
But, before we delve into that, if you already own a Adsense account. Which presumably, is why you found yourself reading this post.
Firstly, you have to enable adsense auto ads in the Adsense Account first. Then secondly, you then, insert the code to your blog.
We show you how you can easily do that in a breeze.
Here we go:
Enable Adsense Auto Ads for your Blog:
Whether you are using a WordPress Blog, a Blogger blog, Hand coded blog or any other platforms out there, you can have significant boost on your earning by going on the Auto Ads route on Google Adsense.
Put simply, Auto Ads can improve your earnings on a Adsense blog.
In this post, I will be showing you how to implement the Auto Ads option amongst other ads option from adsense to WordPress and Blogger.
Before we continue, let us have a glimpse of what Auto Ads are, then we also look at how we can easily put them on any blog on blogosphere. Ok! let’s kick start.
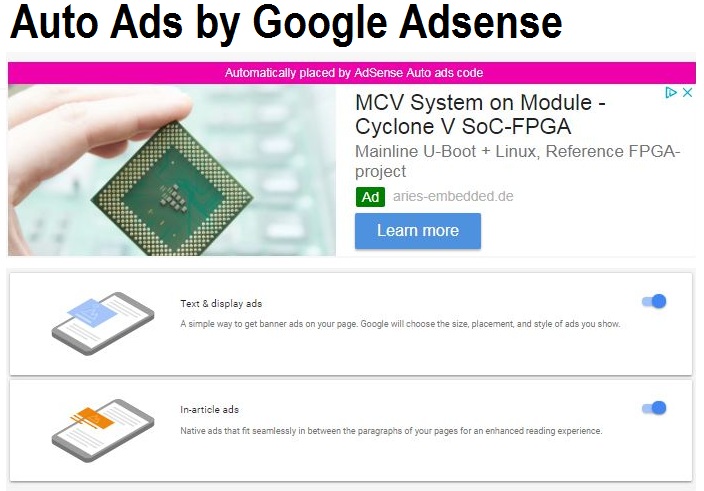
What is Google Adsense Auto ads:
Adsense Auto Ads which can also be seen as a Page Level Ads is simply a code which when inserted on a page will automatically display relevant advertisement of various sizes to fit in to the post in various positions of the website all by itself.
This Google Adsense option (Auto Ads) leverage the use of Google Machine Learning to come up with the best positioning of your ads on various pages.
Google’s Adsense Auto Ads, only needs to be added to a page, and Google does all of the maths, algorithms and the rest to determine what ad placement is cool for your site.
In return many, publishers have boast of having an increment in their earning employing Google Adsense Auto Ads option.
How to add Adsense Auto Ads to your blog:
Since now you know you can have a significant boost of your adsense earning by implementing Google Adsense Auto Ads, let’s now delve into how you can implement this on any blog.
To implement Google Adsense Auto Ads, on any blog, you only simply need to copy the auto ads code generated from your Google Adsense account and place it in your websites header section.
That is the <head></head> section.
- Go to Google Adsense
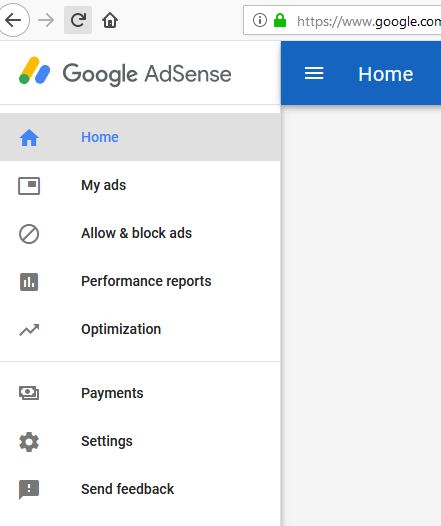
- Go to My Ads
- Auto Ads
- Click on Auto Ads
- Leave all Default Settings

- Generate the Code
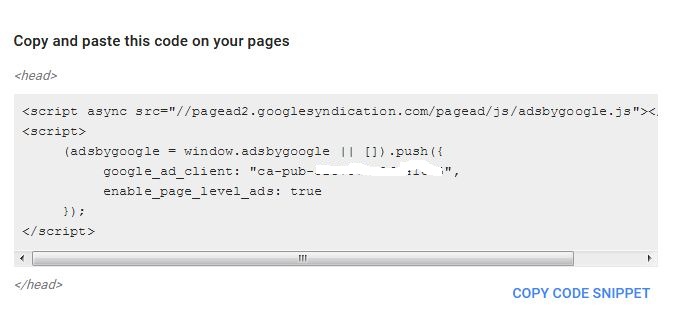
- Copy the code and paste it into your blogs header. That is between the opening <head> tag and closing </head> tag.
If you are find it difficult below continue reading to see how to implement the above on WordPress and Blogger.
How to Enable Adsense Auto Ads on WordPress Blog:
You can either place the Adsense Auto Ads Code manually to WordPress Theme’s Header section, just as in coding amp for WordPress or you can decide to go by using an Ad Inserter Plugin to insert the ads.
The latter, second method via using Plugins, is recommended for newbies and those who aren’t comfortable entering their theme files.
I will assume you have already copied the Adsense Auto Ads code as shown above via the procedures. Next step is to insert the code into your WordPress blog.
#1. Manul Method
- Go to your WordPress Dashboard
- Under Appearance
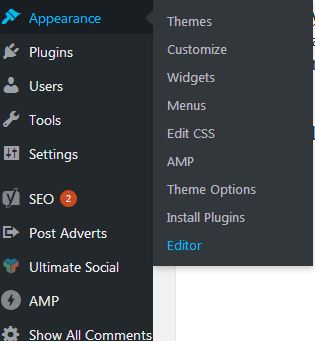
- Click on Editor
- Go to right hand pane section
- Scroll down till you see, Theme Header (header.php)
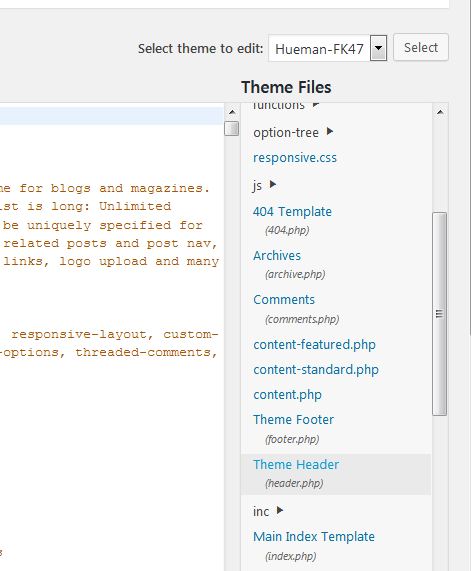
- Click on the header.php
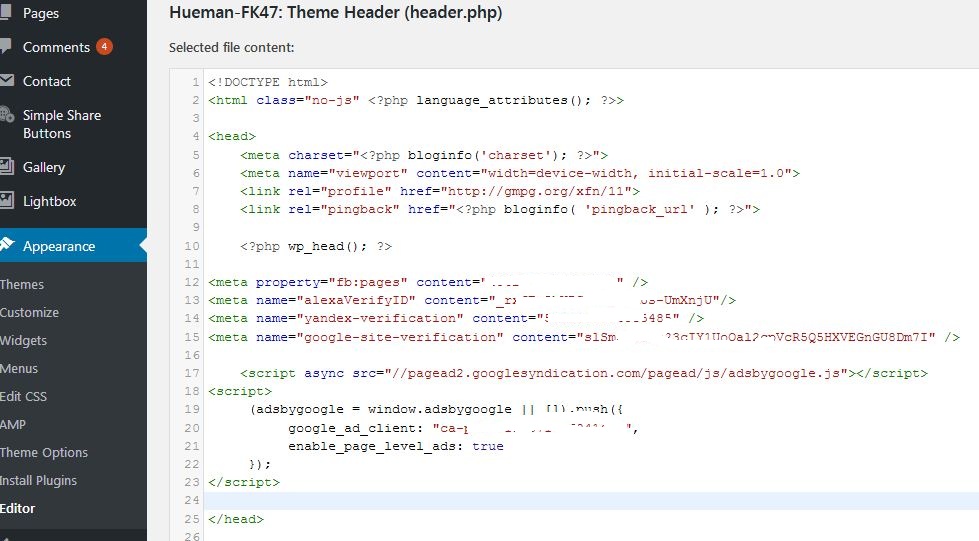
- Paste your Adsense Auto Ads before the closing tag </head>

- Go to the bottom of the editor and Click on Update to save settings.
- Voila! all done. Wait for a while for auto ads to take it’s effect.
Voila! All Done. Wait for 30 to 1hr to get Adsense Auto Ads to start displaying.
This method shown above to insert Adsense Auto Ads to WordPress may become a disadvantage if you want to switch to another theme.
Since all the whole hard coding done on the previous themes may disappear when on the new one including any ad code inside.
Another reason again that makes this method not that ok, is that some people new to WordPress may find it uncomfortable tinkering with the sites coding.
So to over come this we can use WordPress Ad Inserter plugin, or any plugin that can plug in any code into header instead to place our Google Adsense auto Ads.
#2. How to enable google auto ads Via Ad Inserter Plugin:
- Go to your WordPress Dashboard
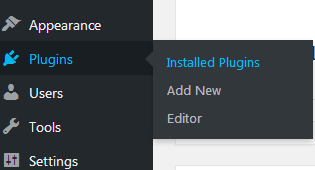
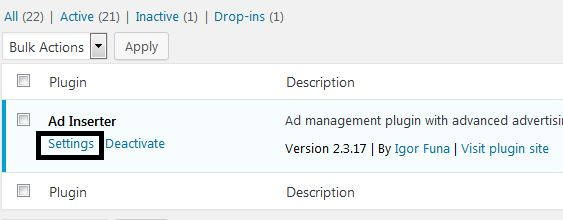
- Under Plugins select Installed Plugins
- Use the Search Menu to find Ad Inserter
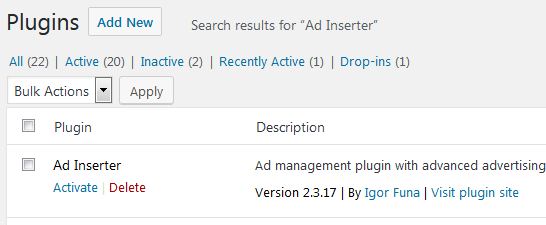
- Install and activate the Plugin
- Go under Settings
- Click on the Gear icon
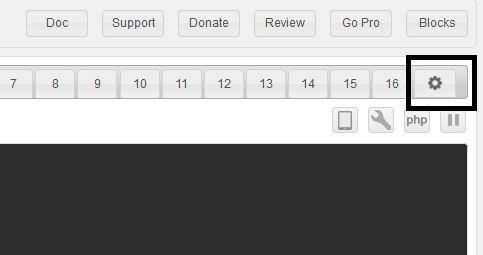
- Select the Header option
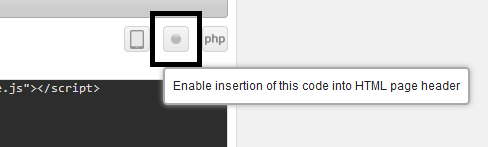
- Paste you code in the empty black field interface

- Click on the Round button to activate the code into header
- Click on Save Settings to save
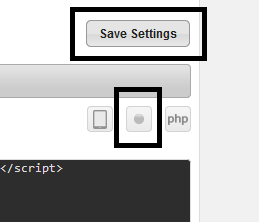
- Voila! All Done. Wait for 30 to 1hr to get Adsense Auto Ads to start displaying.
How to Enable Adsense Auto Ads on Blogger Blog:
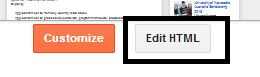
- Go to your blogger Dashboard under Theme

- Click on the Edit HTML tab
- Click on Jump to Widget

- Select Header 1

- Look for an empty place below your theme title and other meta datas and place your adsense code. In my own case I placed the code below <b:includable id=’main’>
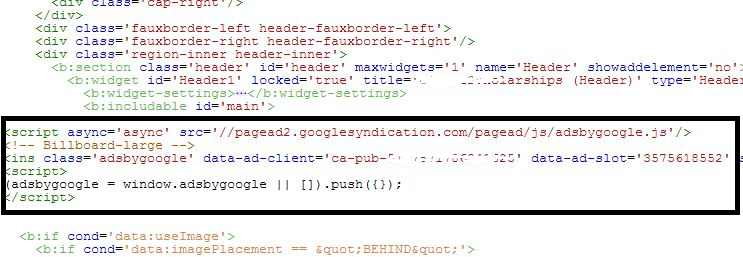
- Click on Save option to save.

- Wait for 30 minutes to 1 hour before Google Adsense auto ads start showing on your blogger blog.
For any questions, leave comment below. Happy! putting your auto ads to your blog.
Get Stuffs Like this, to Ur' Inbox: